Cardigan Puppy Ear Taping 101
First a note about Cardigan ears.
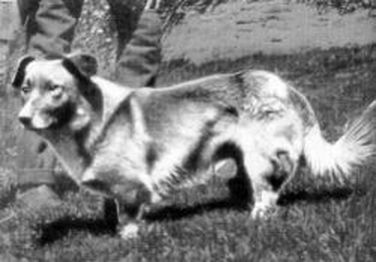
One of the original ancestral breeds behind the Cardigan was known as the Bronant corgi and most accounts descibe these dogs as being 'drop eared' or having ears similar to the dachshund, but every sort of ear type was likely since it was not of primary concern to a farmer.
One of the original ancestral breeds behind the Cardigan was known as the Bronant corgi and most accounts descibe these dogs as being 'drop eared' or having ears similar to the dachshund, but every sort of ear type was likely since it was not of primary concern to a farmer.
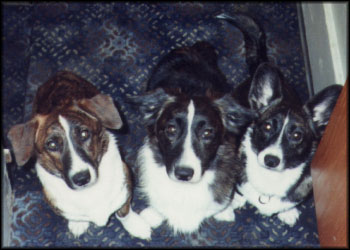
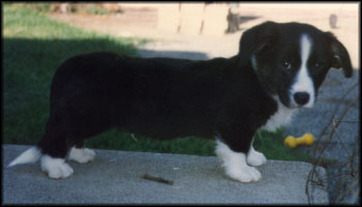
It was only in more recent times that the current ear type now seen in cardigans became common following crosses with (now extinct) red and brindle herding dogs which had more upright ear carriage. Even so, the older types of ears will turn up from time to time and different sorts of ear carriage can even occur in the same litter.
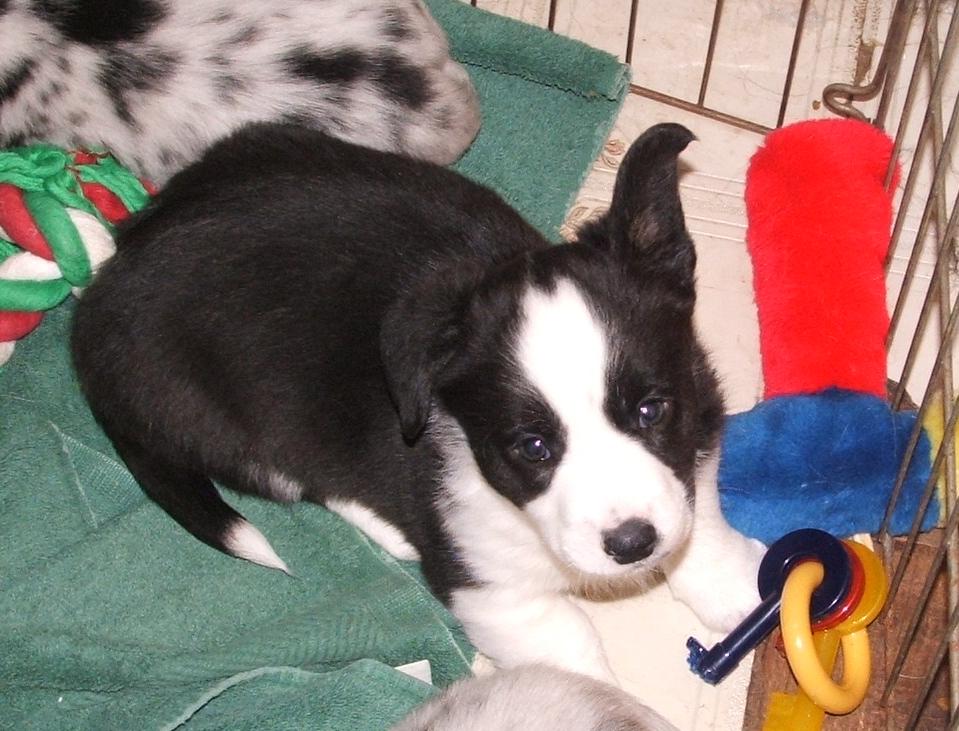
Many cardigan puppy's ears will naturally be soft and not stand up until they are between 12-16 weeks old or even a little longer. Don't give up if ears don't stay up at first after the tape is removed. Put the tape on for a few days, then let the ears rest for a few days and repeat again if they still aren't up. Ears can be up one day and down again the next or a puppy can have one ear up and the other ear down or out to the side. This is most common during teething. A tired puppy can also have droopy ears and you might see ears held up better after a nap. This is all normal.
Usually between 16 weeks to 6 mos, ears are definitely up and once adult teeth have grown in, any 'soft' ears will stabilize solidly.
Step-By-Step Description on how to tape ears
What you need:
One 8 to 16 week old cardigan puppy with relatively clean ears and good appetite
Two approx. 10-12" and two approx. 6-8" pieces of 2" wide masking tape (1 1/2" also works)
Lots of dog cookies.
A Quick Note About Tape:
Some breeders prefer to use duct tape for its longer lasting hold, but it is better to just re-tape every couple of days to check progress and prevent skin irritation. Masking tape is far less likely to cause an injury if it gets caught on something or if a sibling pulls or chews on it. It also doesn't pull off as much hair or leave a lot of sticky residue when it is removed. Try to find regular 2" wide masking tape, not the painter's tape which looks the same, but is not very sticky.
Step One:
First tear off and put the tape somewhere within easy reach (lightly sticking to a nearby table edge, chair back, etc.)
Make sure puppy's ears are clean and dry.
Step Two:
Hold Puppy in your lap or place on a table facing away from you and give a cookie. While the puppy is distracted, take the tape in one hand and lift one of the puppy's ears into position with the other.
Step Three:
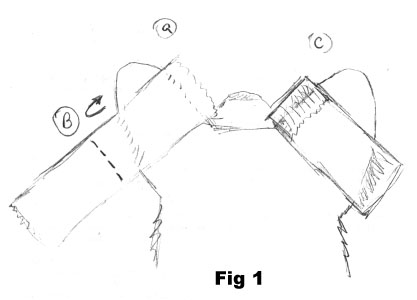
Wait for the puppy to stop trying to see what you're doing. Give another cookie if needed. While the puppy is eating again, stick one end of the tape to back of the puppy's ear with the longest end at the bottom (See Fig 1a).
Step Four:
Before the puppy wriggles too much trying to figure out what's stuck to it's ear, gently fold the tape back up across the front of the ear from below, leaving a 'flange' at the bottom and making sure not to fold the ear at the edges. (Fig 1b) Give more cookies as needed.
Step Five:
Continue to wrap tape around ear leaving another flange at the top and then gently pressing it to stick against the inside and outside of the ear (Fig 1c). Make sure the ear is flat inside the tape without any folds at the edges and the tape isn't too low, blocking the ear canal opening. If the ear is folded, remove and re-tape. If the tape is a little low and covering the ear opening, make a small tear at the bottom of the tape to provide enough air circulation into the ear.
Step Six:
Repeat Steps One through Five for the other ear.
Step Seven:
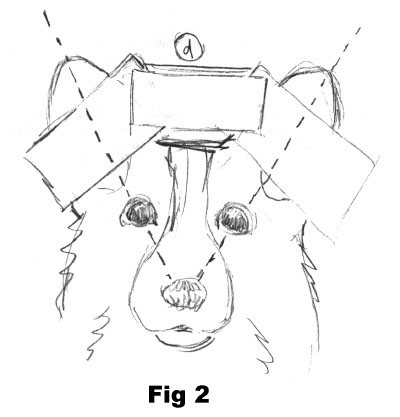
If the puppy will lie on it's back in your lap for at least a few moments, place it in this position and while cradling it's head, see how the ears look with the tape. They should make a "V" shape if you draw imaginary lines from the nose through the center of the eyes to the ear tips. (see dotted lines, Fig 2)
Step Eight:
Now comes the tricky part.
With the puppy sitting back up and facing away from you again, give another cookie and get one of the shorter pieces of tape. Take one ear and gently place it into the approximate position that would make one half of the "V". Stick the end of the tape to the tape on the ear so it will go straight across (or as straight as you can get it with a wriggling puppy). Lift the other ear into position and stick the other end of the tape to it. Don't feel bad if it ends up crooked.
Step Nine:
Turn the puppy to face you and check your work. If the ears are crooked or two close together or too far apart, carefully peel one side of the middle tape loose and re-stick. Use more cookies.
Step Ten:
Take the last piece of tape and stick it across between the ears to cover the sticky side of the tape on the back (Fig 2 d). Gently pull loose any hair on the top of the head and bottom of ear edges that are caught between the tape. Free the puppy and watch to make sure it doesn't pull the tape off right away. Give more cookies and/or play a game to distract. If the puppy gets the tape off, re-tape again in a little while. Usually they ignore the tape very quickly.
Notes:
Don't feel bad if you don't get it right the first couple of times. This takes a little practice. Wriggly puppies don't help much and the tape can end up everywhere but where you want it!
The tape will usually come off with normal wear in a couple of days, but gently pulling it in the direction the hair grows can remove it with little discomfort to the puppy. Alternate leaving the tape off a few days and then re-taping again for 2-3 days until the ears stay up on their own.
Don't leave the tape on for more than three or four days at a time and check daily to make sure there isn't any skin irritation. If you notice any redness where the tape might be in contact with the skin, discontinue taping or if ears do need to be re-taped, place a cotton ball or bit of gauze on the inside of the ear under the tape to keep it from coming into contact with the skin.
Finally:
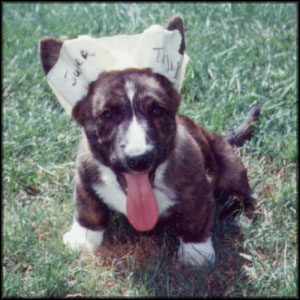
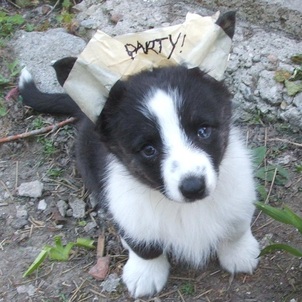
Discover your friends have written amusing messages like "This Space For Rent" or "Satellite Cable" on your puppy's ears.


